Tuesday 30 September 2014

Green Screening Practising

In todays media lesson, I have been developing my skills using the imovie programme by using the Green screening technique. I have been provided with a green screening example video where I have taken a candidate in front of a green screen and I have manipulated the person  in action onto a moving video and successfully created a very short video in order to show my editing skills. I have inserted my short video and screenshot the process of using imovie for Green screening in order to show my progression of using the software.


Monday 29 September 2014

Discussing Presentation Feedback

Within this blog post I have decided to create a short video in which I have discussed and analysed my presentation skills feedback from my individual lip syncing presentation task. The feedback that was given to me was from my class mates and I have discussed what they have stated on what was good about my presentation skills and what improvements I could apply to future presentations in order to make them more innovating. As of this I have taken their feedback into consideration. Please take a few moments to watch my video presentation below.


Sunday 28 September 2014

Presentation Feeback

Previously I have been assessing other classmates presentation skills. Within class we have been providing feedback to one another by viewing peoples presentations on their individual lip syncing song choices. In each case, class mates and I have stated the strengths that each member has within their presentation as well as improvements that they can alter and include in future presentations. Below are images of some of the notes I have made within assessing class mates lip syncing presentation song choices. I will soon be commenting on every member of the classes blogs in order to provide their feedback. In my next blog post I will be discussing and assessing my feedback that was provided to me within my presentation.


Saturday 27 September 2014

Further Photoshop Skills - Album Cover

For another independent blog post I have decided to create a fictional album cover of Mumford and Sons. I have looked at other previous album covers of the band itself and based on that I have used and developed my Photoshop skills to create my own album cover. Below is the original image that  have manipulated myself to create the album cover itself. I have not looked throughly into album covers yet, however over the course as I continue to research album covers, I will have a clear and better understanding as to the typical codes and conventions as to what makes an effective media product for an album cover.


Further Photoshop Skills - Album Cover Process

Similar to the previous poster I created, I have used elements of Photoshop but at a more sophisticated level at this point. Within this process I have used a wider range of tools to edit my media product and to make it look professional and more appealing for the audience to view. Below I have taken screen shots of my progression throughout the process using the elements of Photoshop as well as stating the certain actions I had undertaken to make my media product within the Photoshop software itself

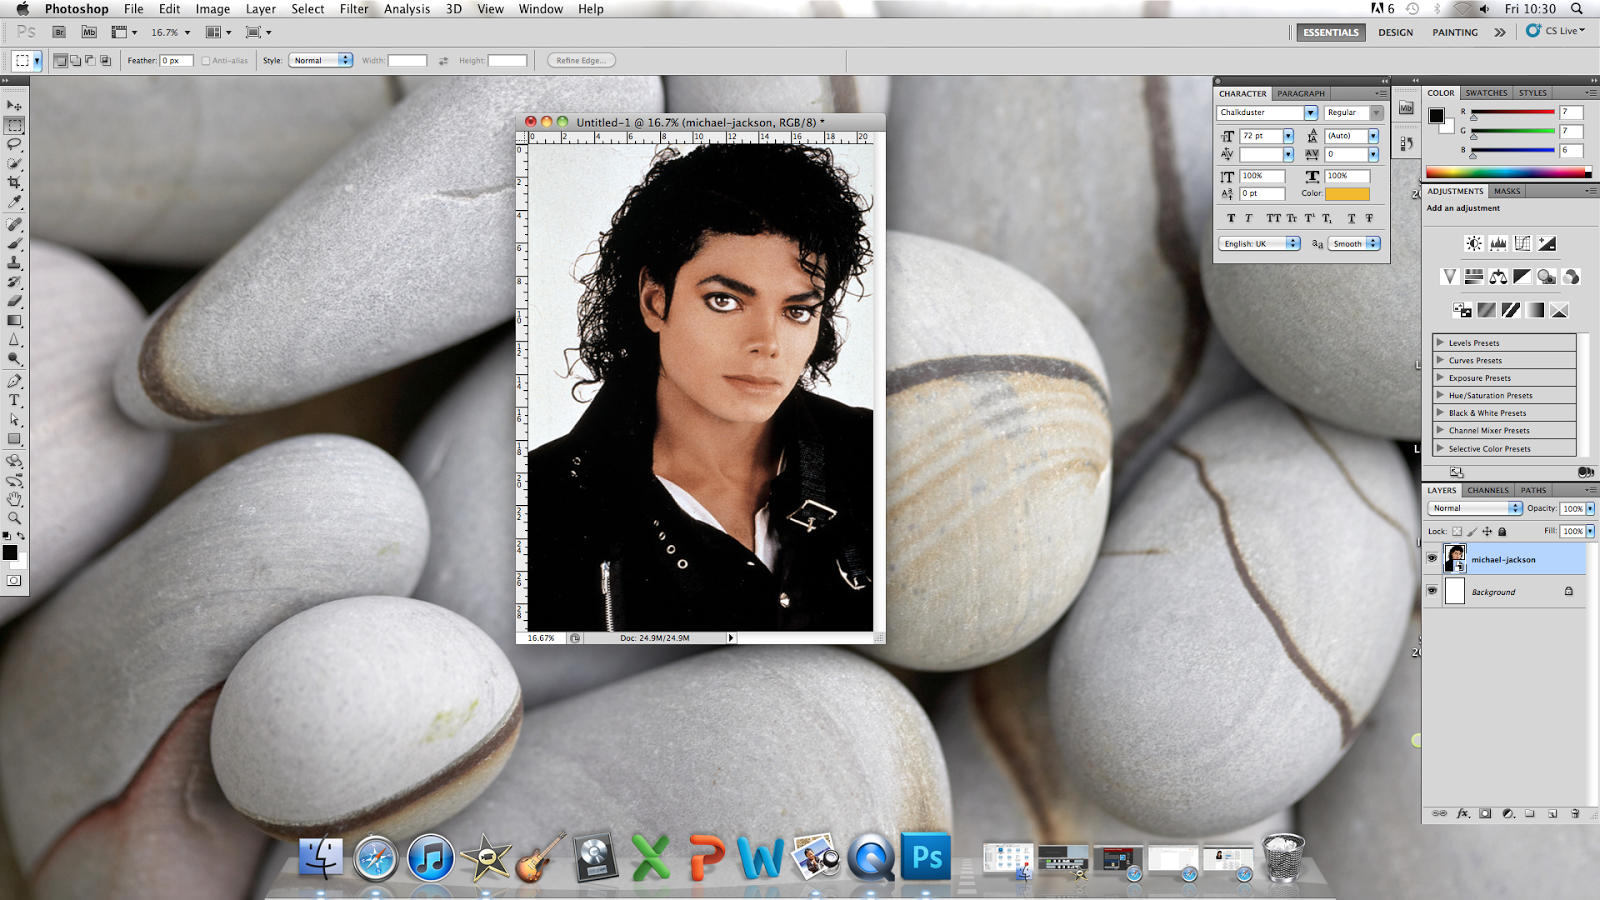
Firstly I opened the Photoshop program by selecting the international paper format, which gave me an A4 paper format. I then rotated the paper 90 degrees clockwise so that the image that I was going to place was going to be suitable for my album cover. After that the image was placed from my files onto the paper itself.


Next I edited the image by using the grayscale format. This certain format turned my image black and white, removing any colour from my image. I then moved the image with the free hand tool to place the image of the band were I wanted it to be.


I then decided to place some text onto my fictional album cover of the band. I used a certain font style to make the text stand out as well as the album cover making it more appealing and engaging to view. I believe that the text style helped to give the album cover a sense of style as to what was being presented to the audience.


Lastly I inserted a bar code by placing the image onto my album cover on the left hand side of the album. I also inserted a signature below the title of the band album title to help give the product a more professional effect.

Friday 26 September 2014

Album Covers

As part of my researching and planning I will need to analyse album covers and music posters that are primarily used to help promote certain music bands and well know music artists. Within my next blog post I will be using my Photoshop skills to manipulate my own album cover with a non fiction band, similar to my previous Michael Jackson Poster. Below are some of my favorite album covers that I have officially bought in the past.

Wednesday 24 September 2014

Indesign

As well as photoshop, I have used the adobe software of indesign before within AS Level to design another media product which I created. Before, I started the A-Level media course I was familiar with the software of photoshop, however I did not come across the adobe software of Indesign. However along the course and now into A2, my confidence in using the software is growing and I may use it if designing any specific media products as part of the promotional package as well as using photoshop as it will be fit for purpose. Below is a video I have looked at in the past for beginners which allowed me to use and know the basics of the software.

Monday 22 September 2014

iMovie Basic Tutorial

Today I have decided to look at some tutorial videos on how to use certain editing aspects within iMovie. The iMovie software will be a editing program that I will be using to create my own virtual music video and possibly other media products of my own. In previous blog posts I have also posted videos and other aspects to  show my development with using Ezvid which is a similar aspect to iMovie. Below I have included a basic tutorial video that I have watched in order to help my development with using iMovie in the future.


Sunday 21 September 2014

Photoshop Practise - Michael Jackson Poster


Photoshop Practise - Michael Jackson Poster

As part of developing my photoshop skills i have decided to use the software of photoshop to produce a standard poster of the remembrance of Michael Jackson. Below I have included simple screen shots to  present my progress and development of producing my poster in order to show that I am equipped with the Photoshop skills so that I can develop my media products. These media products includes my album cover and poster to promote my own virtual music video. As I continue to develop my Photoshop skills I will produce better and more appealing media products. In the future blog posts as part of my research I will seek and analyse certain media products including alum cover and tours posters so that I have a thorough insight as to how they are presented, displayed and produced to the audience.


Thursday 18 September 2014

Photoshop

As part of my coursework I will be using the adobe program software of Photoshop in order to create my own media products which includes a poster and an album cover to promote my music video. I am very familiar with Photoshop as I have used the software last year to create my music magaizne. Since then my skills with using Photoshop have improved a lot and my skills will continue to develop throughout this year with using the software so that I can create my own successful media products when I come to create my own virtual music video. I have included a video post below showing a tutorial on how to use basic tools and how certain editing techniques are used within the software itself.

Wednesday 17 September 2014

Ezivid Progression

In my previous blog post I created a short video presentation using the software of Ezivid. It is the second time I have used Ezivid to present my work and with using the software a second time my confidence has grown slightly while using the software. During the process of creating the video I had screenshot certain stages of my development using the editing software to show my progression throughout. I believe that the more I continue to use editing software's such as Ezivid and iMovie the better my editing skills will be when I come to create my own actual music video. Below are the screenshot images of developing my video as well as my having the processed video going viral on You Tube.


Tuesday 16 September 2014

Applying Camera Movements to Music Videos/ Critical Response

As an independent blog post I have decided to apply my knowledge on camera angles and movements to two music video I have found. I have created a short video using the software of ezivid to do this analyzing the camera angles and why they have been used in each of the music videos, in which they provide a specific purposes and ignitions to the audience. This video will also show my understanding in regards to displaying a critical response to the music videos based upon this analysis.

Monday 15 September 2014

Camera Movements/Angles Examples

In addition to my previous blog posts I have created a short power point slide presentation that shows image examples of the certain camera shots and movements used in action. Doing this task will help me draw upon my practical work and development as I will have a much thorough insight as to what the certain camera movements and shots are. Please take a few moments to watch my presentation.

Sunday 14 September 2014

Camera Movements/Angles Glossary

As part of making and constructing my music video I need to be aware of certain camera stills and movements that will be included in my music video. There are a variety of camera movements that I am very familiar with already. Below I have included a glossary sheet that states all the key terms of camera angles/movement used in many shots in films and music videos. Within my next blog posts I will be displaying examples of the camera shots and movements used and why certain camera shots are used. 

Zoom In - the camera zooms into the object/person in focus 
Zoom Out - the camera zooms out from the object/person
Close up - the camera is zoomed into the persons face
Mid Shot - the camera is positioned in which the audience and see the persons waistline and upwards
Long Shot - the camera is positioned in which the audience can see the persons whole body 
Tracking Shot - the camera keeps track and follows the person in the scene
Pan - the camera steadily moves horizontally across 
Whip Pan - the camera quickly moves horizontally across
Arc - the camera covers a semi-circle around the subject in focus
High angle - the camera looks down on the subject in focus making them seem weak/powerless
Low angle - the camera looks up on the subject in focus making them seem to be a powerful figure
Crane Shot - is a shot taken from a very high angle  
Aerial Shot - is a shot used to show a certain setting or location from the skyline view
Steadicam - the camera is steadily held in a professional way
Hand Held - the camera is unsteady making the audience feel part of the action


Saturday 13 September 2014

Presentation Skills Feedback

Within this blog post I have discussed my feedback that was given to me when I presented by lip sync presentation skills to my classmates. I have decided to create a video in which I have discussed and analysed my feedback on my individual presentation skills. Please take a few moments to watch my video discussion below.


Thursday 11 September 2014

Ezvid

For this blog post I have decided to share my ideas on the use of creativity using a range of different software's to present my work. For my previous blog post I created a video post based on my individual lip sycning song choices. While constructing my video post I decided to use a software process named Ezvid. Ezvid is a free downloadable video capture editing software that I have just recently been introduced to. The software is used to create videos recording your computer screen as well as having access to voice recording, a facecam, screen drawing and voice control. Ezvid is a very similar software to iMovie as it includes many features that have aspects of editing a particular video in which imovie allows you to have access to. I believe coming across different video editing software's such as Ezvid and iMovie will allow me to develop my computer skills into having successful editing skills when I come to create my own virtual music video. Below I have included a short video which introduces the software of Ezvid. Please take a few minutes to watch the video.

Wednesday 10 September 2014

Individual Lip Syncing Song Choices - Presentation

After doing a group lip syncing task, I am soon going to undergo an individual lip syncing task. For this task I have chosen 3 songs that I may possibly want lip sync to when I do my individual lip syncing task. I previously posted the music videos of my song choices in the last blog post. In this blog post I have deiced to do a short presentation on why I have decided to pick the songs I have chosen. In each aspect of the music videos I have clearly explained why I have made the choices in picking the music videos. Please take a few moments to watch my video presentation below.

Monday 8 September 2014

Green Screening - iMovie help

As an independent blog post i have decided to do some further research into the i movie software that I used for my lip syncing task. Within looking in the i movie software I have decided to look at the green screening process and how it can be used in i movie to edit certain background. Below I have included a video tutorial to show how this process is done. I have decided to do this as part of my research and development of the software because it will allow me to improve my computer skills and confidence using i movie when it comes to creating my own virtual music video. I will continue to post certain blogs similar to this so that I have a clear and better understanding of the i movie software and possibly other software's similar to i movie that I have access to.